Showing posts with label Projects. Show all posts

Saturday, July 28, 2012

My Second Frame


(July 12, 2012)

After making the first frame and finally completing it, I was ready to make my next. I had some leftover wood from the first one so I decided to use that. 
Here is my second frame. The picture is kinda weird but it is a square. 

I still just used the roundover bit and the straight bit. But I raised the bit a little higher to get a different profile on this frame. 

This frame was MUCH quicker to make having the router table set up. I love it! Here is just another picture of the frame. Can you tell I was pretty happy with the profile? My joints could be better... but I'm happy. Each piece is a learning experience. 

Like I said... this one was much easier to make. 

I used the same Early American stain from Minwax but I did the process a little different this time. 
Here are both the finished frames together. The second one, on the left, is much lighter. On the first one I applied the stain and then wiped it off. Then I made another thin application of the stain and left it on. 


On the second one I simply applied once and then wiped it off. I like both of  them.
I don't know how well you can tell this... but the table they are sitting on is the one my son made in shop class. The frame on the right matches it pretty good. This is before the polyurethane is applied though. He told me that in order to match his table it would need the polyurethane. LOL :)

All-in-all... I'm pretty happy with the way these turned out. I look forward to making more and trying different profiles. I know that to the experienced woodworker these are a small project and maybe pretty easy. But I'm still learning this wonderful craft and I'm enjoying every minute of it... even if it is just a picture frame, or a sign that says "James". 
Thank you for reading this and letting me share my new wonderful addiction with you :)

Friday, July 27, 2012

Another New Tool & A Project

(July 10, 2012)

Remember the Bosch Router Table that I got? Well... like I said in that post... my Skil router wont fit in it because the plate isn't predrilled for it and the holes won't match up. So I got pretty frustrated. I had started my first project and couldn't finish it because I'm just not in a place where I can do what I needed with out the router attached.
Having said that... I guess I should show you the project. It's a picture frame. (I know you can't tell... but I'm still so excited about this that I'm jumping up and down like a little kid... at least on the inside LOL)

 On the right, is the front of my frame. I was pretty happy with how well my miter joints came out. Especially since this is my first attempt. I keep wanting to call it my first project. My "James" sign was. But it was sort of practice. So I guess this sort of is my first. I used blue painters tape to hold them together until I could glue them up. I needed my router attached to a table to do the groove on the back.
As you can see... the right is the back and there's no groove. This is the back while it's still just taped with the blue painters tape. 

(July 10, 2012)

So... what's a girl to do? I had my router table all put together and couldn't use it. I looked into a replacement plate for it but couldn't/wouldn't pay the price. Soooo.... after talking to another woodworking friend (Mike, he's a scroll guy. Awesome work.) I heard about a router table/router combo at Sears. So off to Sears I went. I think the thing retailed for $139 or something. Maybe more. But it was on sale for $119. I didn't need a router. I already had one. But I was curious and asked the sales person to give me some more info on it. It was the last one and there was no display model. I almost didn't find it. When they pulled it up online it said $107. So I asked the girl if I could have it for that price. She of course said yes. At first I left and didn't get it. But I ended up going back and picking it up. I just couldn't pass it up. 

Here it is. James helped me put it together too. 

The router is a Craftsman 1 3/4 HP, fixed base. One thing I do kinda like about it is that it has an interchangeable collet. I don't know if it's going to be too easy to switch bits out... but I can change the collet from a 1/4" shank to a 1/2" shank. All the bits I have right now are 1/4". But I was looking for a 1" flush trim bit the other day at Lowe's and the only flush trim bits they had at all were 1/2" shanks. Anyhow... I'm pretty happy with the whole set up. I've decided to keep my Skil router as well to do signs and inlay and... well... whatever else I may need to use a plunge router for. :)

So... I got to make my groove in the back and I got my frame all glued up and stained it. As you can see, I missed some of the glue in the bottom right hand corner. This whole project was a learning experience. But I'm still quite happy with how it turned out. 
I did notice, however, that when doing my glue up, I didn't get my joints as aligned as I did when I was taping. I don't know if they slipped when I was putting the clamp on or if I just didn't get them as aligned. 
Still... happy with it. I used the Early American Minwax stain on it. 

After I got this one all stained and ready to go. I went after the rest of the piece of wood. This wasn't made with pallet wood. But not everything I make will be. Besides... that pallet wood I have is not ready for any project that requires wood that is square. 

I'll share the next frame with you tomorrow. Until then... :)

Wednesday, July 25, 2012

It's Router Time!

(July 5, 2012)

After things got back to normal it was time to play with some wood again. My hubby isn't into woodworking. He's not really against me doing it... but he's not totally for it. I think it's mostly that he doesn't think we have the space (which is kinda true) and that he doesn't know if I'll stay into it. We've only been married for 4 years so he didn't know me when I tried to get into it before. So... I was surprised when he bought me this....
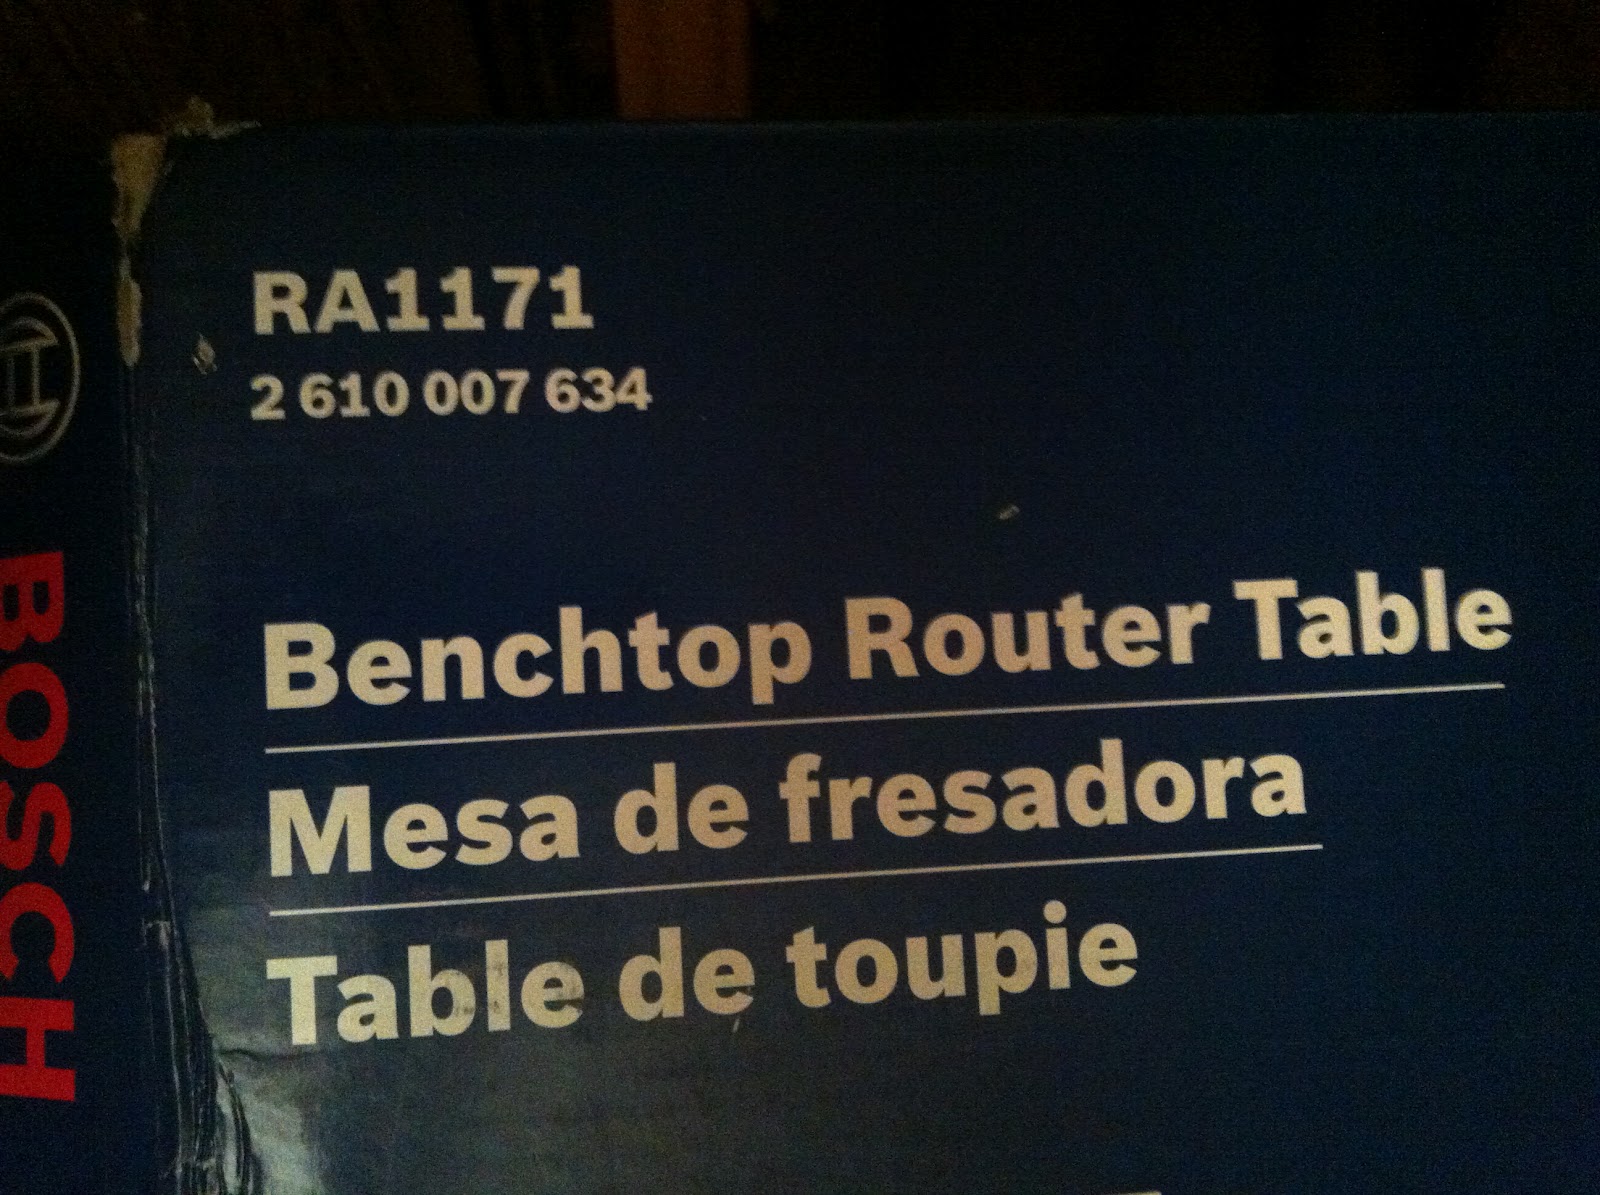
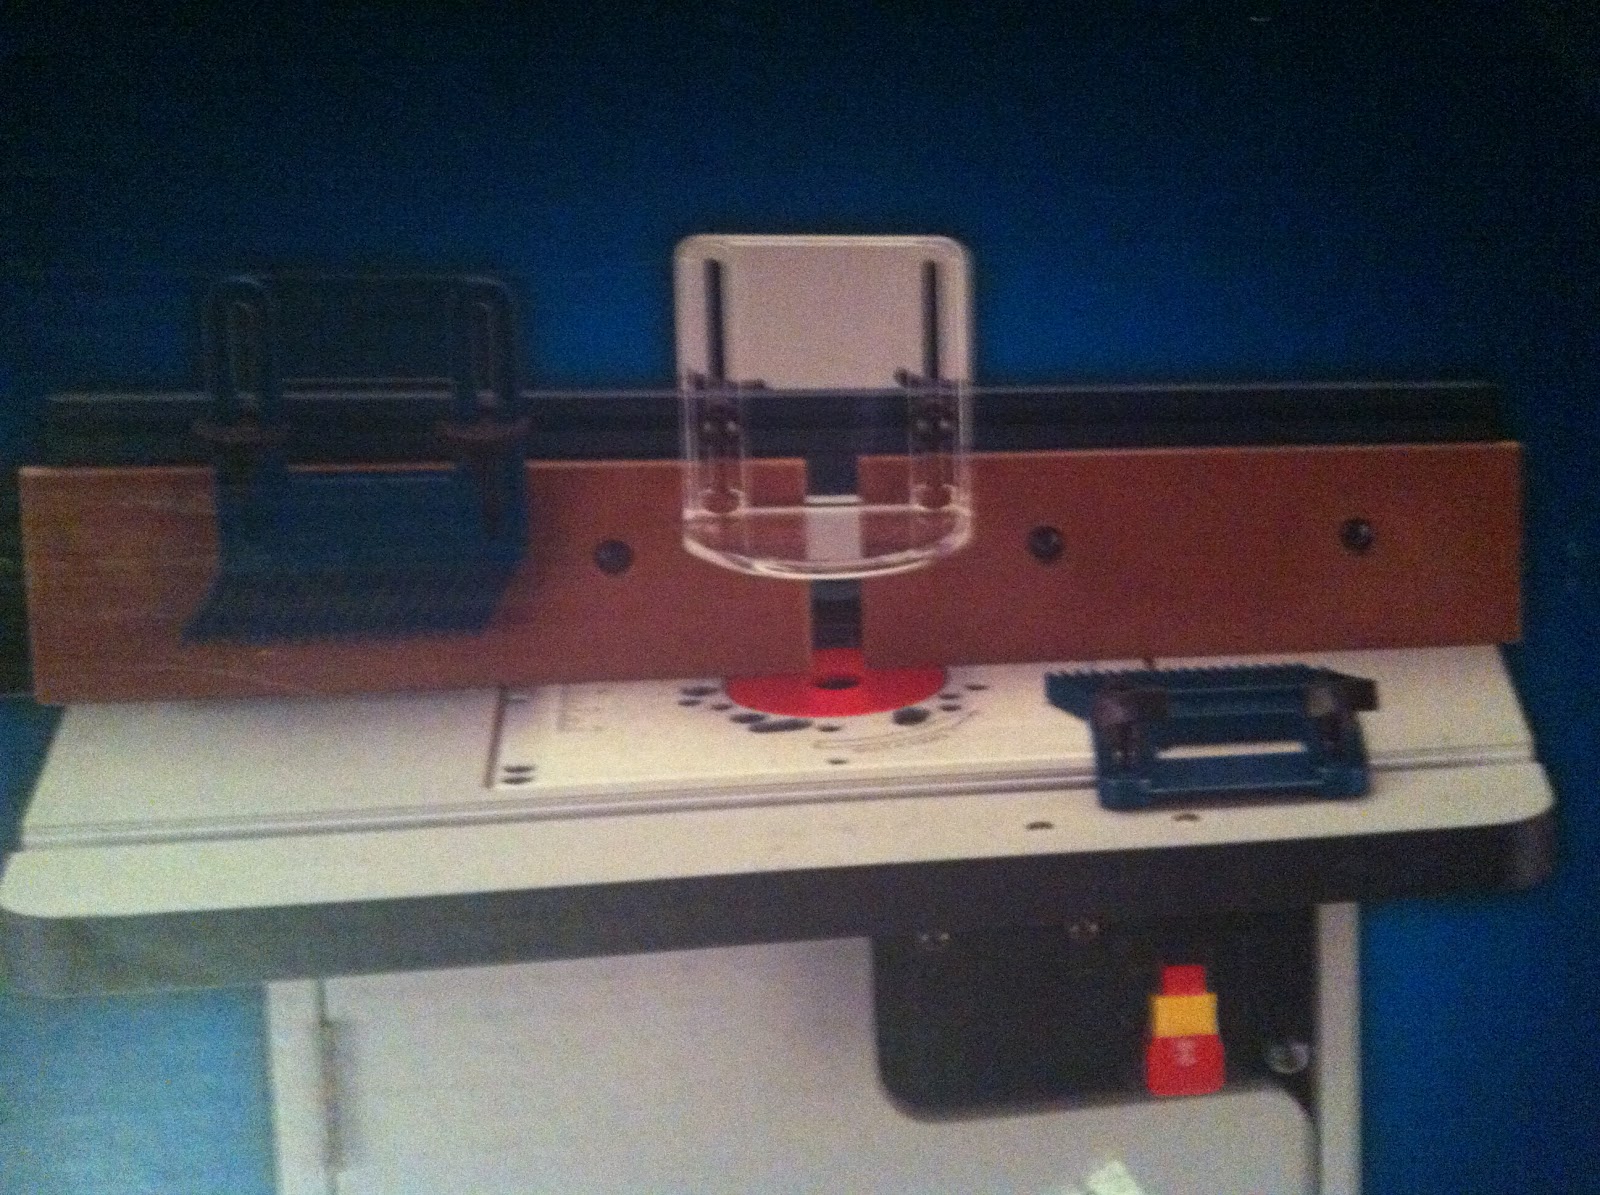
It's a Bosch Router Table. YEAH!!!!

James helped put it together. Sorry for the blurry pictures. These are with my phone. 

 He was pretty excited that he got to help put it together. Hubby lined the screws up and James tightened them.
Above he is telling me to stop taking pictures because he's trying to work. LOL!

 He listened very closely when his daddy was explaining different things to him. He was pretty proud of the work he did. So was mommy :)

So... Table gets put together and it's time to install the router. Oops... hubby forget to check and see if my router fit it. And it didnt :(

But... to reward him for his hard work... mommy went out and played with the router anyways and freehanded a sign for his room. He was so proud of it. 

Yes.... the "J" is kinda wonky and it's too far away from the rest of the name. But this was the first time I ever used a router. Once I got the bit depth right and figured out how the plunge on it worked... I was in business. It wasn't till after the "a" that I got the hang of it. 

I also rounded the edges with a roundover bit. I used.... ummm.... the V'grove bit? Maybe? LOL! I can't remember. One of those bits that came with it is what I used :)
 I took a sharpie and colored in his name to set it off. I of course sanded it down too. 

Guess what this is made from? Ding, ding ding! Pallet wood! YEAH!!! An ugly piece of pallet wood that would have went to the dump is not a name sign for my little router-table-setting-up-man. :)